





Where the tax exemption form appears
Updated September 14, 2026
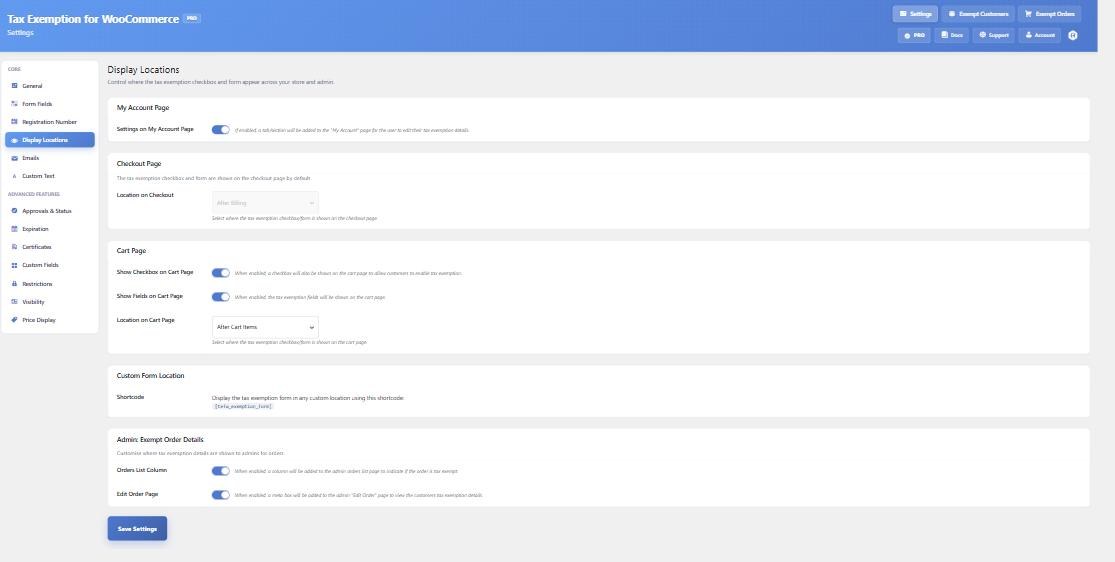
The tax exemption checkbox and fields can appear in five places. All of them are controlled from Tax Exemption › Settings › Display Locations, apart from the registration form, which lives on the Visibility tab.
Checkout page
On by default, and it works on both the classic shortcode checkout and the WooCommerce block checkout. Location on Checkout moves the form between four positions: After Billing, Before Billing, After Order Notes and Before Order Notes.
Cart page
Show Checkbox on Cart Page adds the exemption checkbox to the cart so customers see the tax drop off before they reach checkout. Show Fields on Cart Page additionally puts the full set of fields there.
Location on Cart Page offers six positions: After Cart Items, After Cart, Before Shipping, After Shipping, Before Totals and After Totals. Which ones look right depends on your theme, so it is worth trying a couple.
My Account page
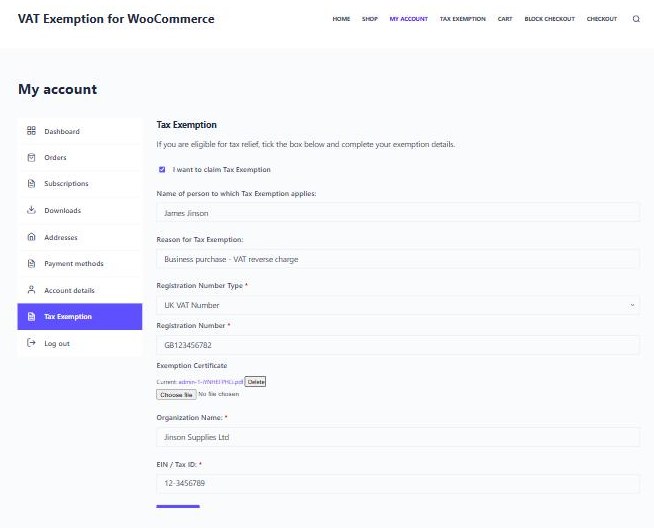
Settings on My Account Page adds a Tax Exemption tab to the customer’s account area where they can set up or update their details at any time. This is the place customers are sent when their details need attention — for example when a certificate is required but there is no upload field on the page they are on.
Registration form
On the Visibility tab, Fields on Registration Form adds an exemption section to the WooCommerce account registration form, so business or charity customers can declare their status as they sign up. The fields stay hidden until the exemption checkbox is ticked.
Anywhere else, with a shortcode
[tefw_exemption_form]Drop this on any page or post to render the full exemption form there — useful for a dedicated “Claim VAT relief” landing page. It works even when the My Account tab is switched off.