





Set up tax exemption on your store
Updated September 14, 2026
Tax Exemption for WooCommerce lets customers declare that they are exempt from tax, give you the details to back it up, and have tax removed from their order automatically. Everything is configured under Tax Exemption › Settings in the WordPress admin menu.
Out of the box the plugin is already enabled and the checkout form is already shown, so a fresh install works with no configuration at all. The steps below cover the handful of settings worth confirming before you go live.
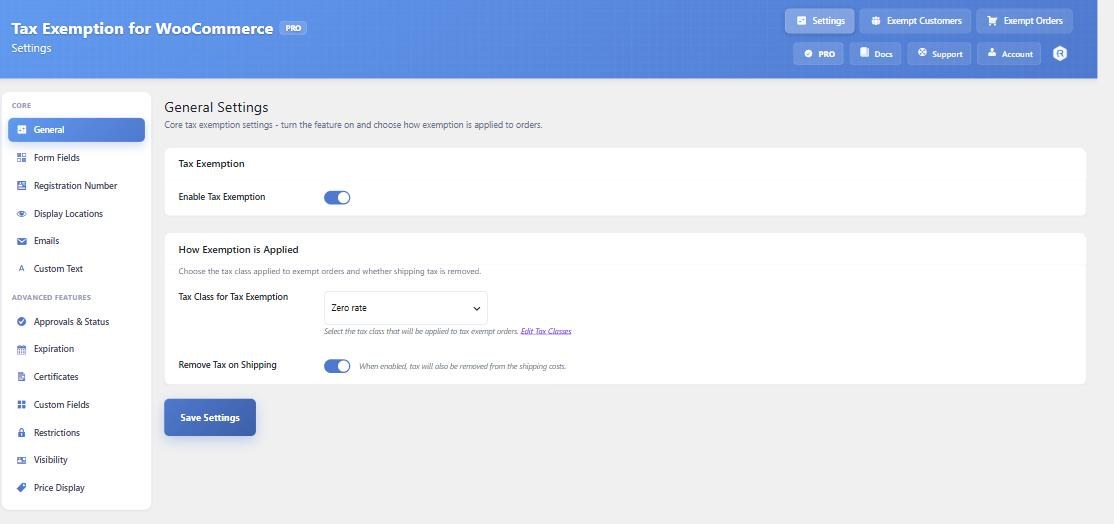
Confirm the tax class used for exempt orders
On the General tab, Tax Class for Tax Exemption decides which WooCommerce tax class is swapped in when a customer is exempt. This should be Zero rate.
The plugin creates a “Zero rate” class with a 0% rate the first time you open the settings page, if one does not already exist. If you pick a class that is not zero-rated, tax will still be charged to exempt customers, and the settings page shows a red warning saying so.
Remove Tax on Shipping sits just below it and is on by default. Turn it off if exempt customers should still pay tax on delivery.
Choose which details to collect
On the Form Fields tab you can show or hide the Name and Reason fields, and make each one required. Both are shown and required by default. Each field also has a label box, so you can word it to suit your store.
If you need a VAT number, charity number, ABN or similar, turn on the Registration Number field and pick the number types you accept.
Decide where the form appears
The Display Locations tab controls this. The checkout form is on by default; the cart checkbox and the My Account tab are separate options. You can also place the form anywhere with a shortcode.
Place a test order
Add a taxable product to the cart, go to checkout, tick I want to claim tax exemption, fill in the fields and confirm the tax line drops to zero before you place the order. If it does not, the tax class is the first thing to check.