





Display the audio player on posts
Updated September 15, 2026
Once a post has an audio file, the plugin automatically adds an audio player above the post content. There’s no setting to turn this on; it appears as soon as the file exists. To show the player somewhere else in the post, add the [ai_tts_player] shortcode where you want it.
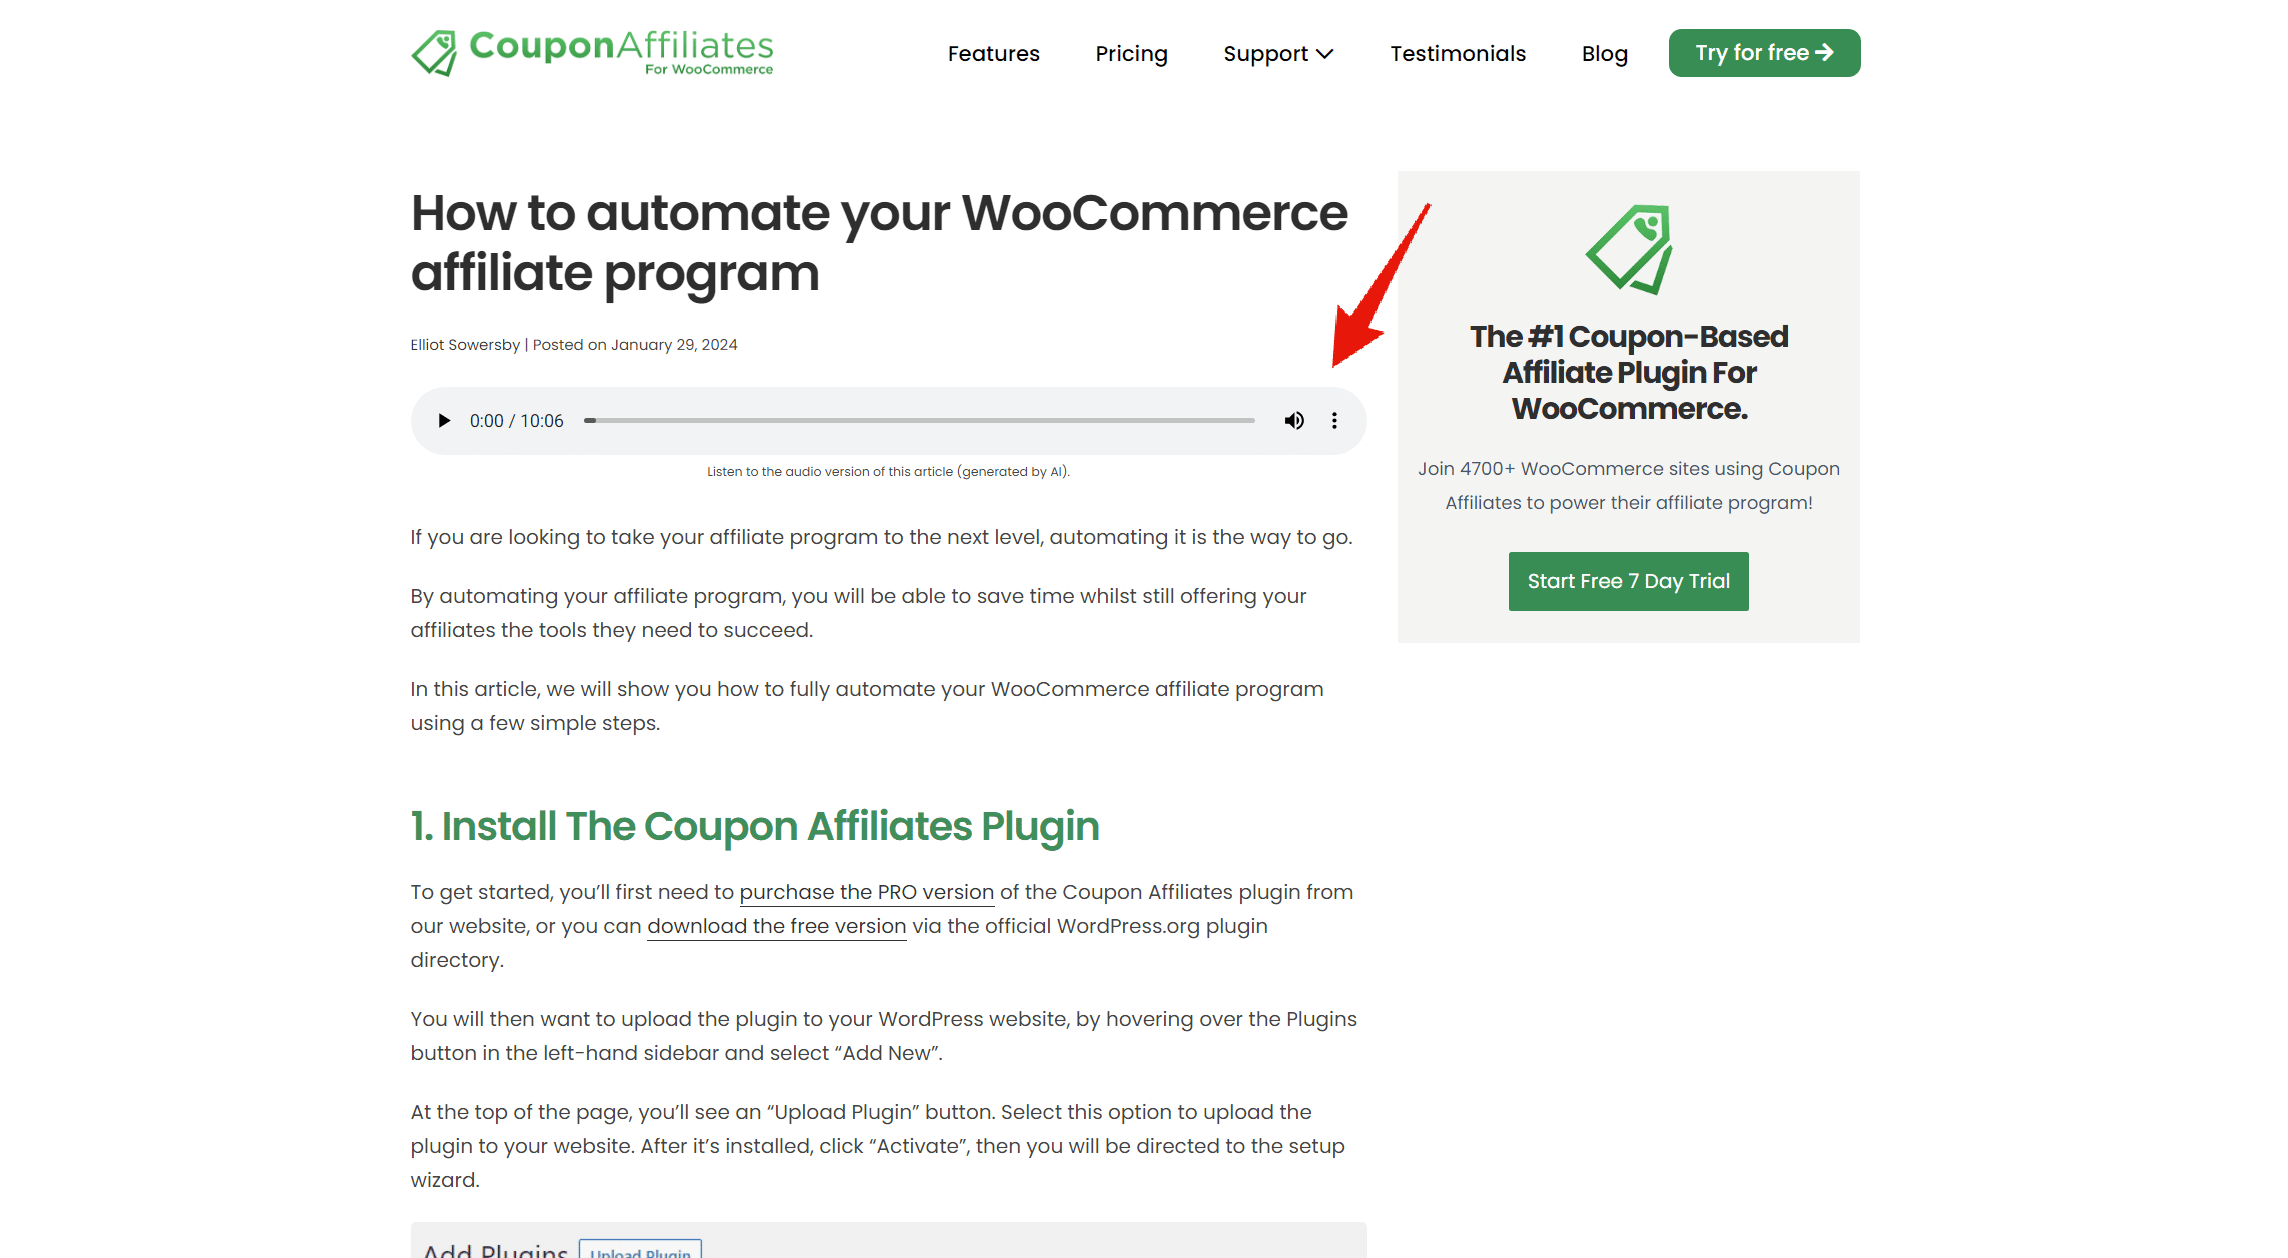
Where the player appears automatically
- On single post, page and custom post type views, at the start of the main content.
- Not on blog listings, category or tag archives, search results or the home page post list.
The player is a standard HTML5 audio element up to 790px wide, so its look depends on the visitor’s browser. It loads only the file’s details on page load, not the whole file, so it doesn’t slow the page down.
The Enabled for Post Types setting controls where you can generate audio in the editor. It doesn’t hide a player for a post that already has a file.
Move the player with the shortcode
- Edit the post and add a Shortcode block (or type directly into a paragraph) where you want the player.
- Enter
[ai_tts_player]. - Update the post.
When the shortcode is in the post content, the automatic player at the top is not added, so you won’t get two players. The shortcode takes no attributes and always shows the audio for the post being viewed. It’s available in the free version.
To place the player in a theme template or hide it on certain pages, see Hooks, filters and code examples.
Change the player label
By default a small line of text sits under the player: “Listen to the audio version of this article (generated by AI).” Change the wording in AI Text-to-Speech › Settings › General Settings › Player Label, or untick Show Player Label to remove it.
OpenAI’s usage policies require you to clearly tell listeners that the voice is AI-generated. If you remove the label, make sure that disclosure appears somewhere else near the player. The label is marked so search engines don’t use it in result snippets.